Installation manuals
- 5:36 PM - 0 comments
C.V. Joints installation manual
Assembly of CV Joints on drive shaft
- Gearbox Side
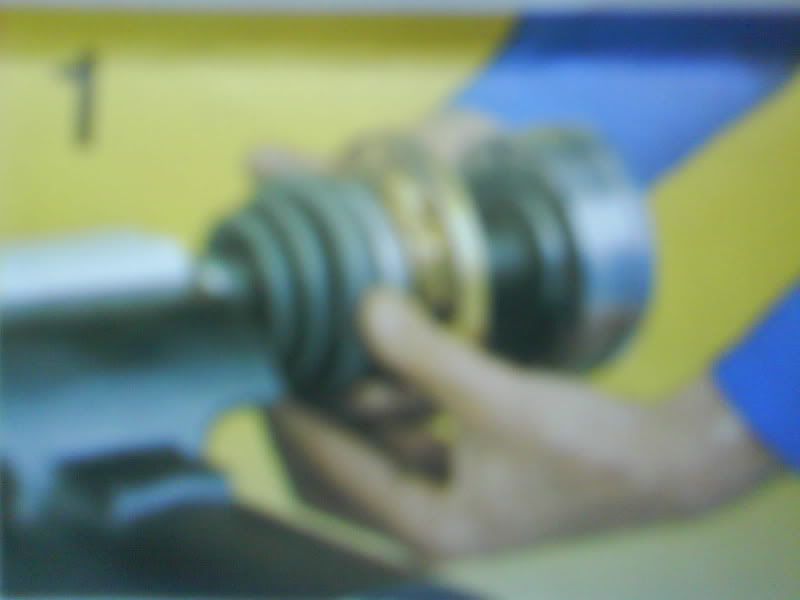
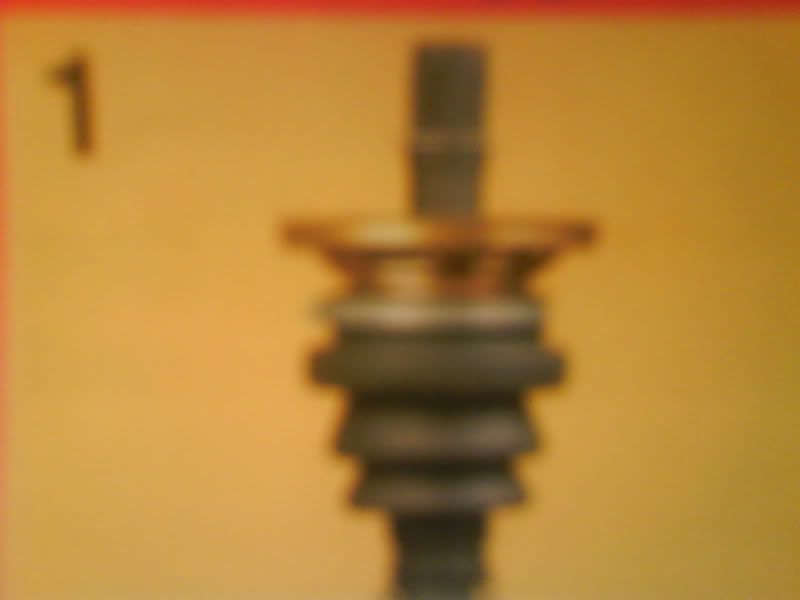
1) Place the clamp and boot with its cap on the shaft. If the joint is provided with a Belleville washer, position it correctly on the drive shaft.
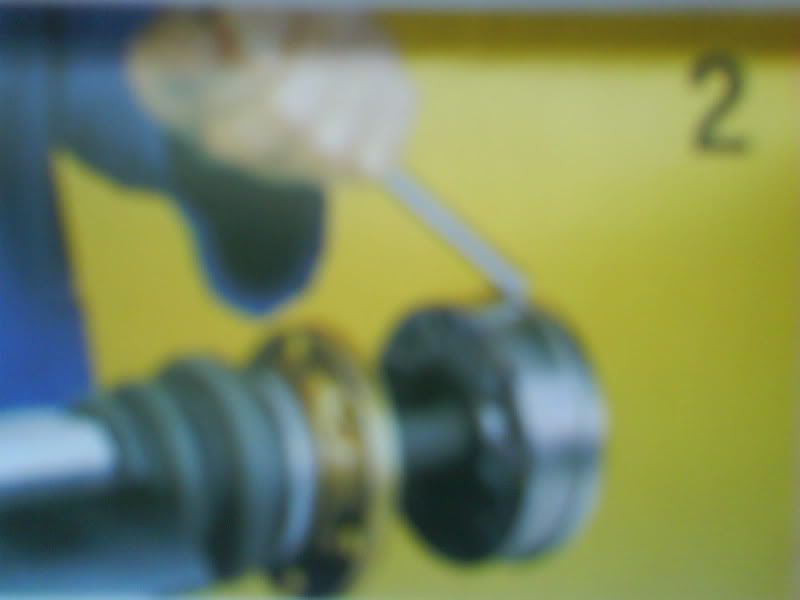
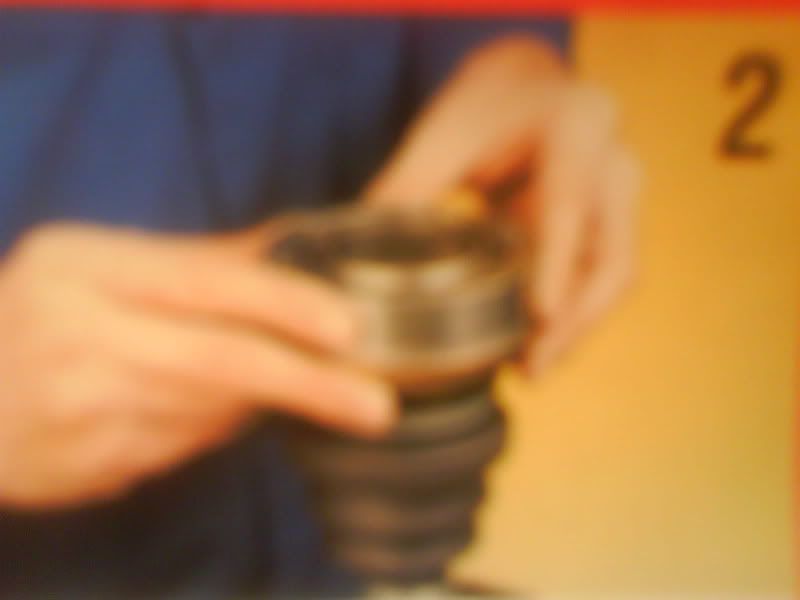
2) Match the grooves on the inner race with those on the grooved part of the shaft and push the joint onto the shaft. If necessary, strike carefully on the inner race.
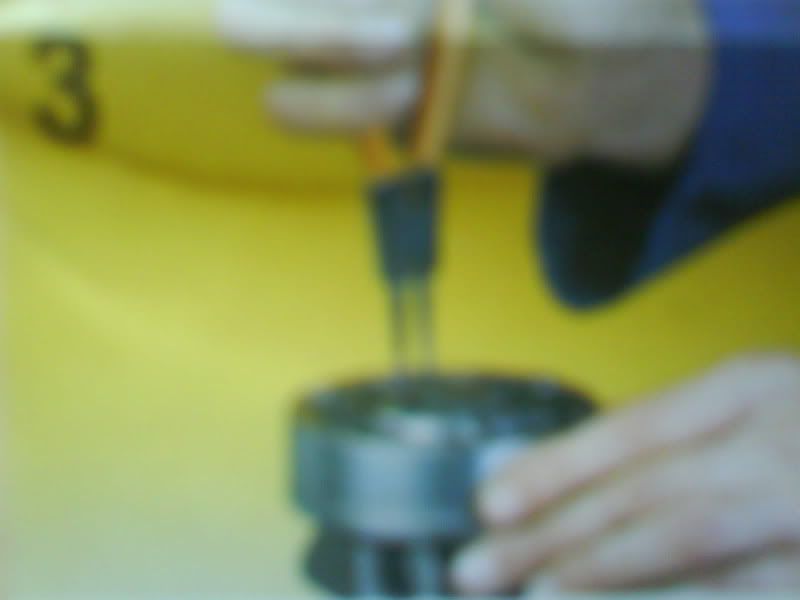
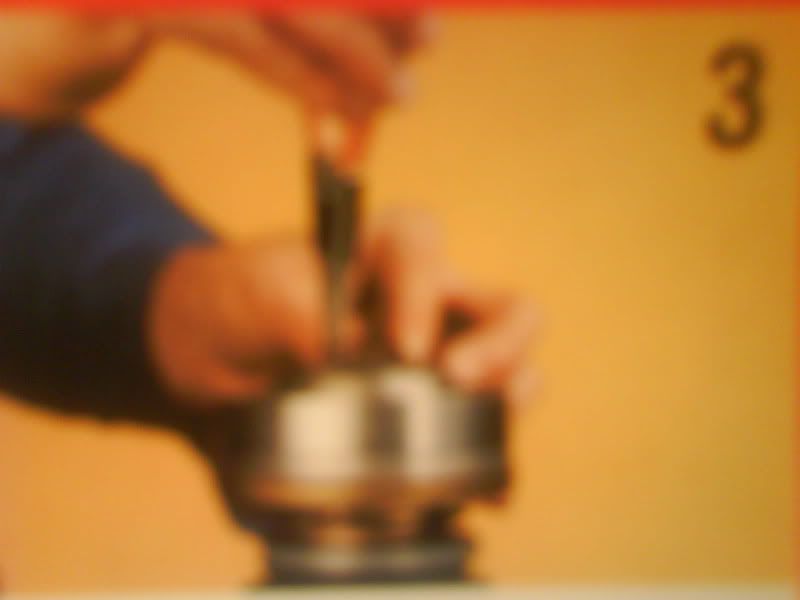
3) Fit the retainer ring in the groove on the drive shaft. Always use a new ring.
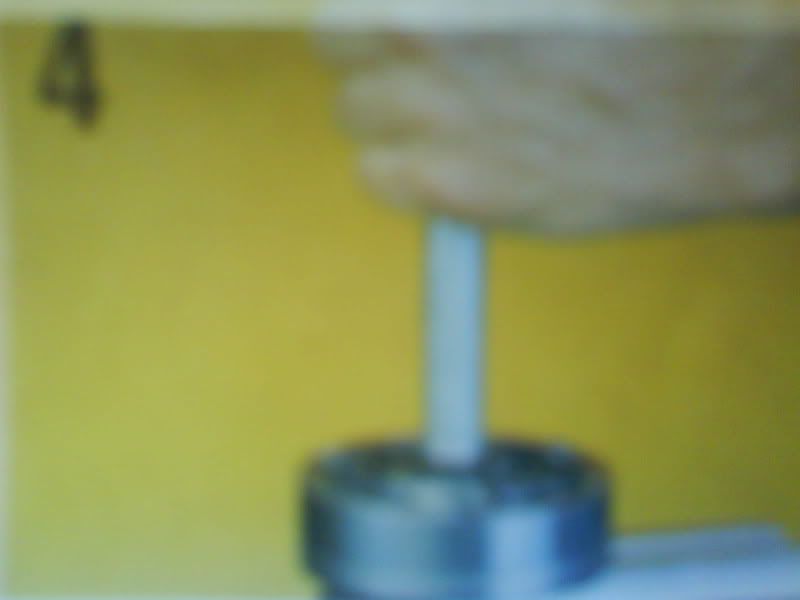
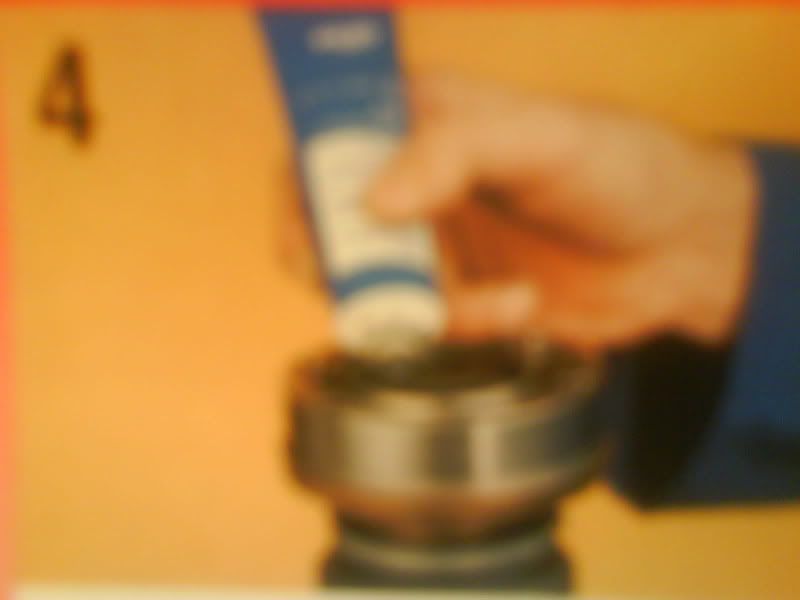
4) Fill the joint from the side opposite the boot with about half the grease in the tube supplied.
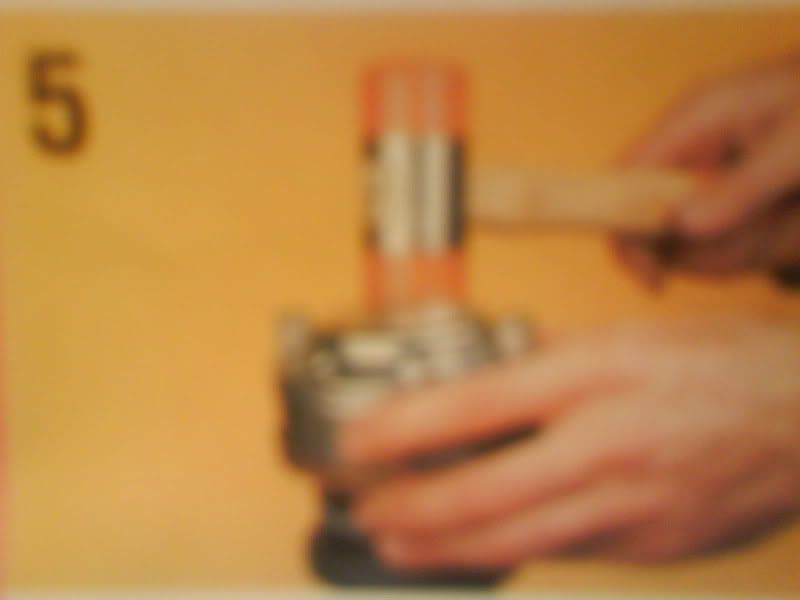
5) If a protective cap is provided, fit it in place taking care to match the holes with those on the joint.
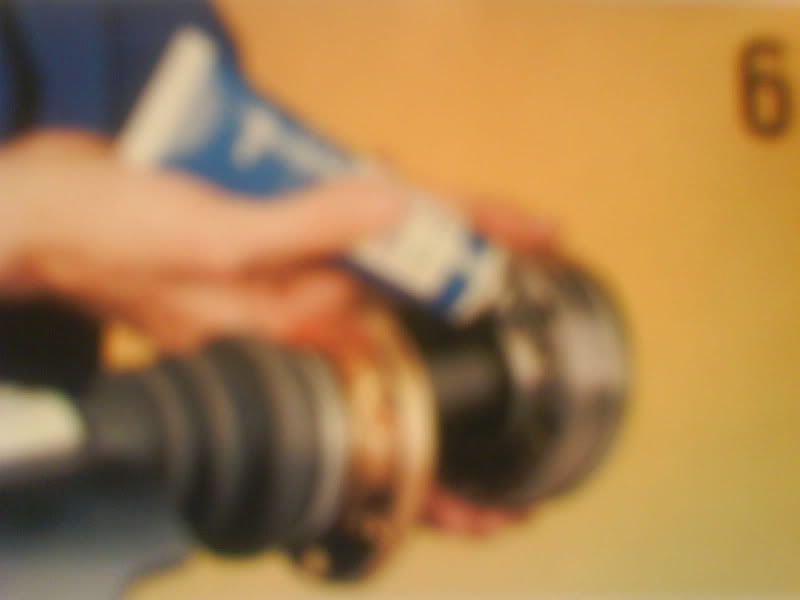
6) Fill the joint from the boot side with the remaining grease.
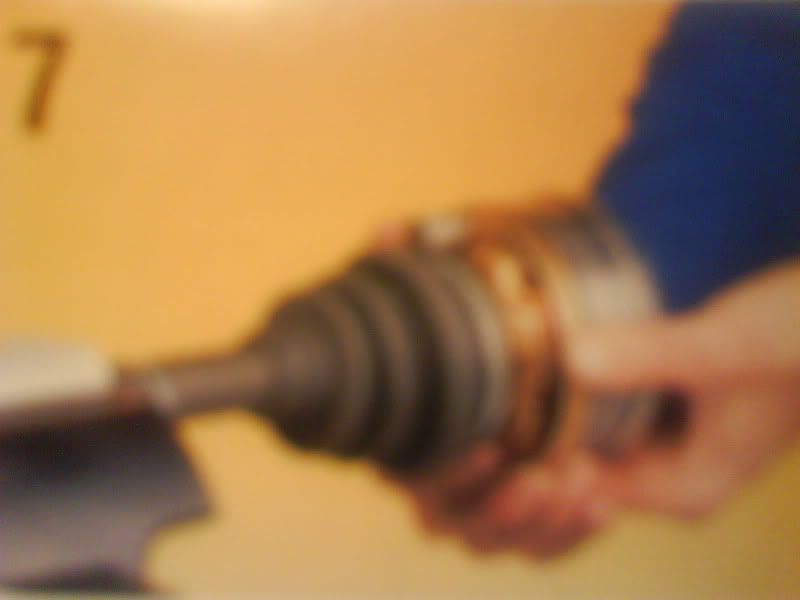
7) Fit the boot cap on the joint taking care to match its holes with those on the joint.
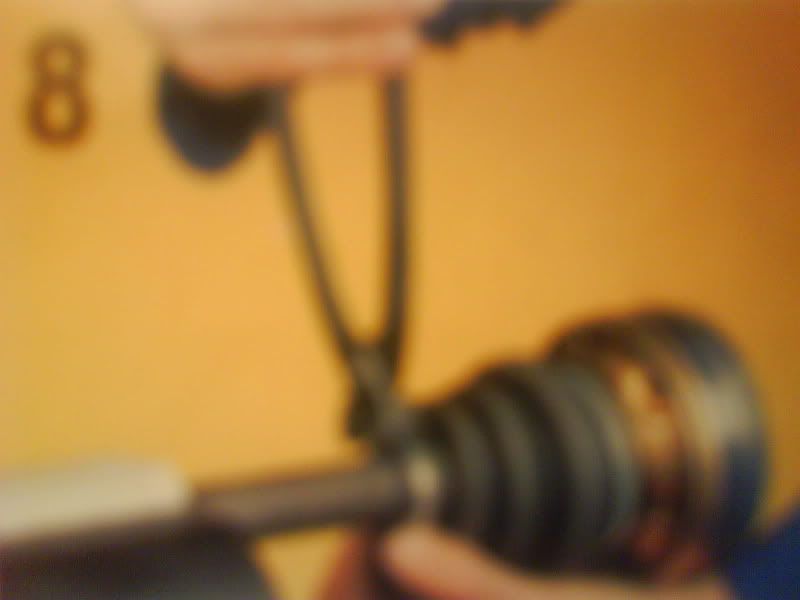
8) Close the small clamp so that the boot is securely anchored to drive shaft.


Assembly of CV Joints on drive shaft
- Wheel Side
1) Place the small clamp and the boot on the shaft. If the joint is provided with a Belleville washer and lock washer, push these parts onto the shaft.
2) If the joint has an internal circlip this has to be fitted in the groove on the drive shaft. Always fit a new ring. If the fastening system requires a Seeger ring ring this is supplied already in place on the inner race.
3) According to the Cifam standards, joints are supplied pre-lubricated with the optimum amount of grease. A few types of joints are supplied with a separate container of grease. In this case the joint should be filled with about half the grease in the container.
4) Match the splines on the inner race with those on the grooved part of the shaft. Pay particular attention to the retainer ring. Using a plastic hammer, push the joint on to the shaft slowly until the retainer ring snaps shut. Do not fail to check that the joint is fitted securely on the shaft cannot slide.
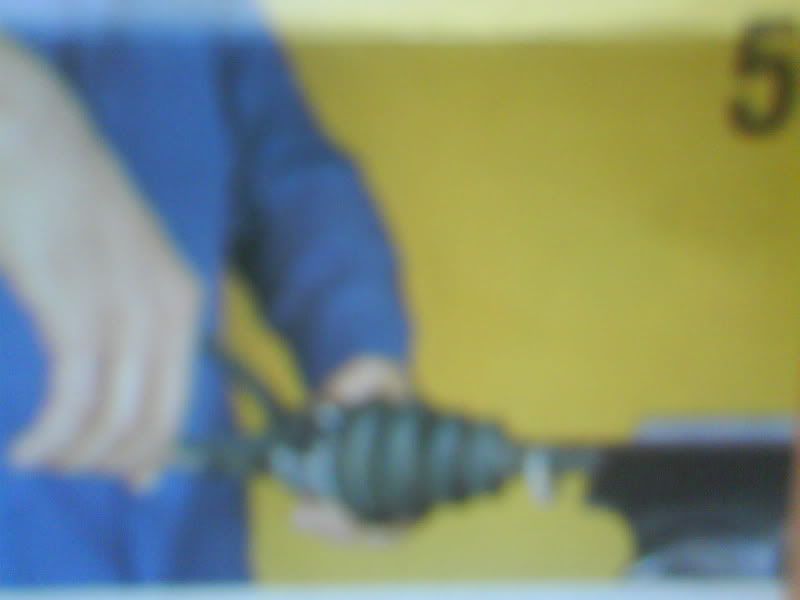
5) If the grease has been supplied separately, use the remaining amount to grease the joint completely. Fit the boot on the joint in the correct position and tighten the large clamp with pliers. Make sure the boot is securely anchored to the joint.
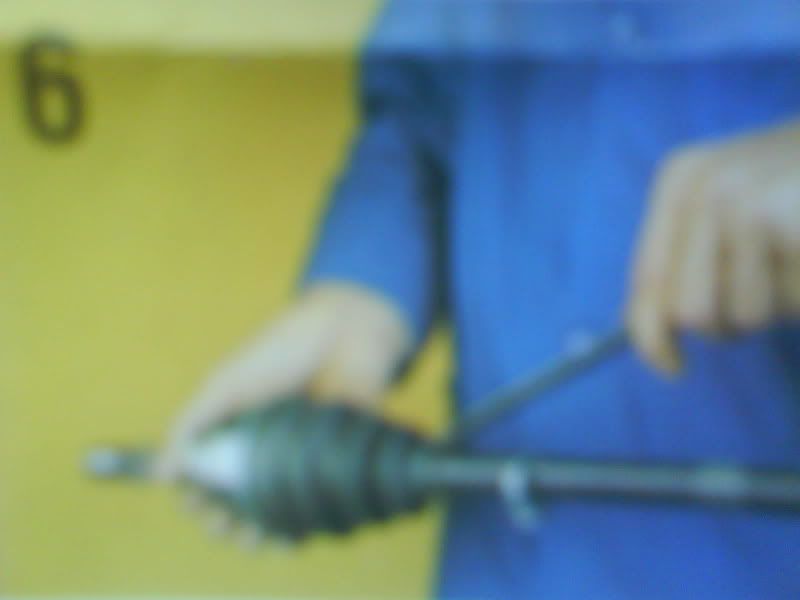
6) Insert a screwdriver between the boot and the drive shaft to let the air out of the boot.
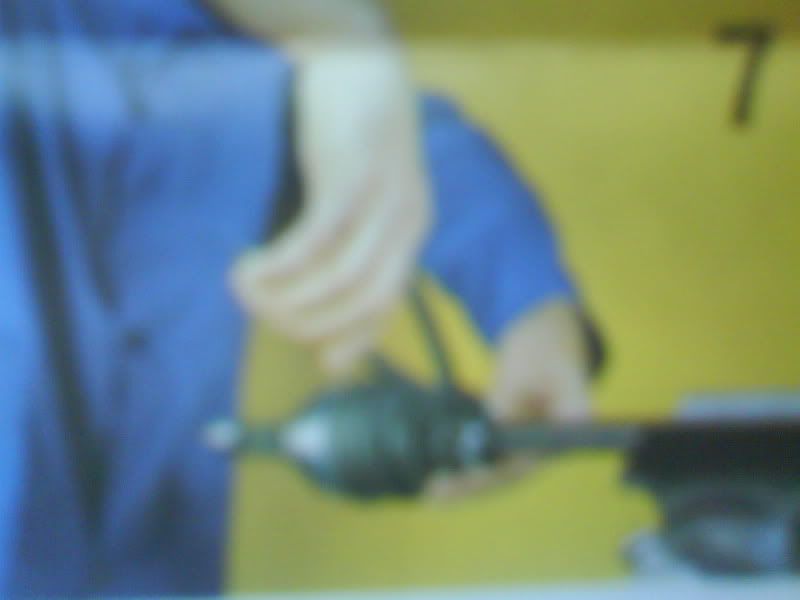
7) Tighten the small clamp using pliers and check that the boot is hermetically sealed. Turn the joint a few times around the shaft axis to check that it is correctly installed.


Removal of CV Joints on gearbox side of drive shaft
Wheel side
1) Grip the drive shaft securely in a vise. Remove the clamps Take the boot off the joint by sliding it along the drive shaft.
2) If the circlip is visible, spread it open and slide the joint off the shaft, striking it gently on the front face with a plastic hammer.
3) If the circlip is internal (not visible) the joint has to be removed from from the shaft by striking it on the front face of the inner race.
4) Remove the retainer ring, if any, on the drive shaft. Take the boot off the drive shaft. Clean the drive shaft along the grooved part and check that the teeth are intact.


Gearbox Side
1) Grip the drive shaft securely in a vise. Remove the small clamp. Remove the boot with its cap by sliding it off the drive shaft.
2) Remove any protective cap taking care not to damage it because it will have to be used again for assembly.
3) Position the joint over the jaws of the vise so that the drive shaft is in a vertical position facing downward. Open the circlip using the special pliers.
4) Slide the drive shaft out of the joint by striking the front face of the shaft, with its cap and the Belleville washer, if any. Clean the drive shaft along the grooved part part and check that the teeth are intact.


- Gearbox Side
1) Place the clamp and boot with its cap on the shaft. If the joint is provided with a Belleville washer, position it correctly on the drive shaft.
2) Match the grooves on the inner race with those on the grooved part of the shaft and push the joint onto the shaft. If necessary, strike carefully on the inner race.
3) Fit the retainer ring in the groove on the drive shaft. Always use a new ring.
4) Fill the joint from the side opposite the boot with about half the grease in the tube supplied.
5) If a protective cap is provided, fit it in place taking care to match the holes with those on the joint.
6) Fill the joint from the boot side with the remaining grease.
7) Fit the boot cap on the joint taking care to match its holes with those on the joint.
8) Close the small clamp so that the boot is securely anchored to drive shaft.
Assembly of CV Joints on drive shaft
- Wheel Side
1) Place the small clamp and the boot on the shaft. If the joint is provided with a Belleville washer and lock washer, push these parts onto the shaft.
2) If the joint has an internal circlip this has to be fitted in the groove on the drive shaft. Always fit a new ring. If the fastening system requires a Seeger ring ring this is supplied already in place on the inner race.
3) According to the Cifam standards, joints are supplied pre-lubricated with the optimum amount of grease. A few types of joints are supplied with a separate container of grease. In this case the joint should be filled with about half the grease in the container.
4) Match the splines on the inner race with those on the grooved part of the shaft. Pay particular attention to the retainer ring. Using a plastic hammer, push the joint on to the shaft slowly until the retainer ring snaps shut. Do not fail to check that the joint is fitted securely on the shaft cannot slide.
5) If the grease has been supplied separately, use the remaining amount to grease the joint completely. Fit the boot on the joint in the correct position and tighten the large clamp with pliers. Make sure the boot is securely anchored to the joint.
6) Insert a screwdriver between the boot and the drive shaft to let the air out of the boot.
7) Tighten the small clamp using pliers and check that the boot is hermetically sealed. Turn the joint a few times around the shaft axis to check that it is correctly installed.
Removal of CV Joints on gearbox side of drive shaft
Wheel side
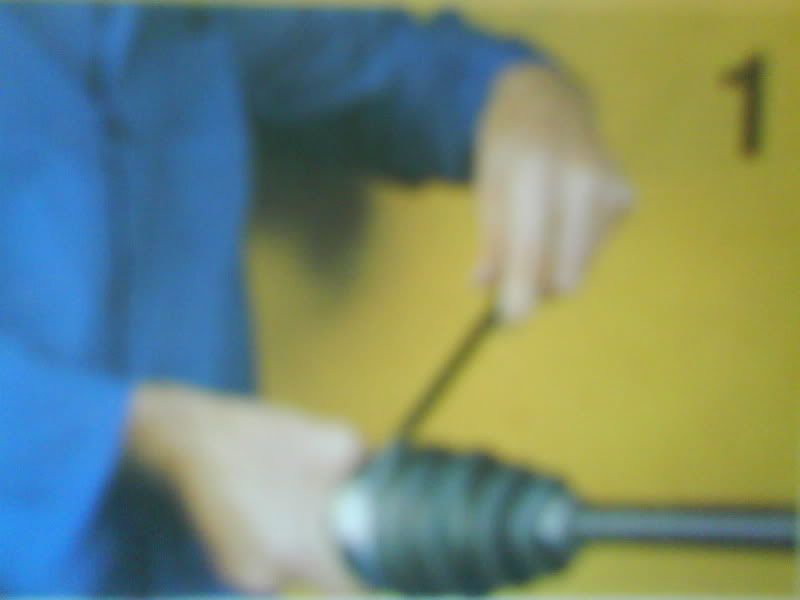
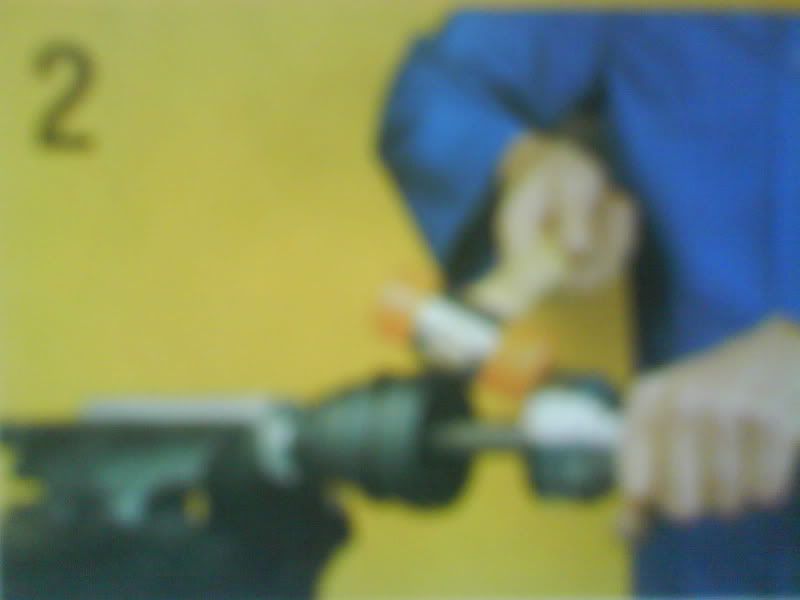
1) Grip the drive shaft securely in a vise. Remove the clamps Take the boot off the joint by sliding it along the drive shaft.
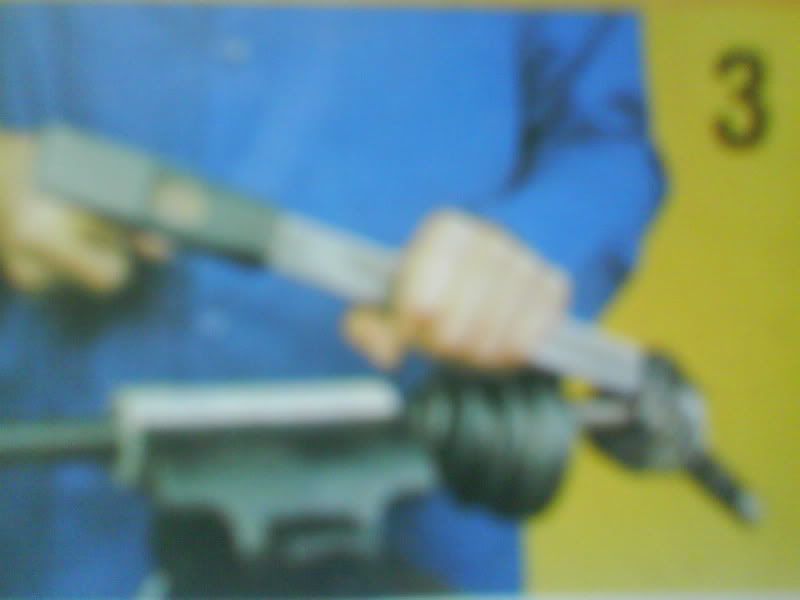
2) If the circlip is visible, spread it open and slide the joint off the shaft, striking it gently on the front face with a plastic hammer.
3) If the circlip is internal (not visible) the joint has to be removed from from the shaft by striking it on the front face of the inner race.
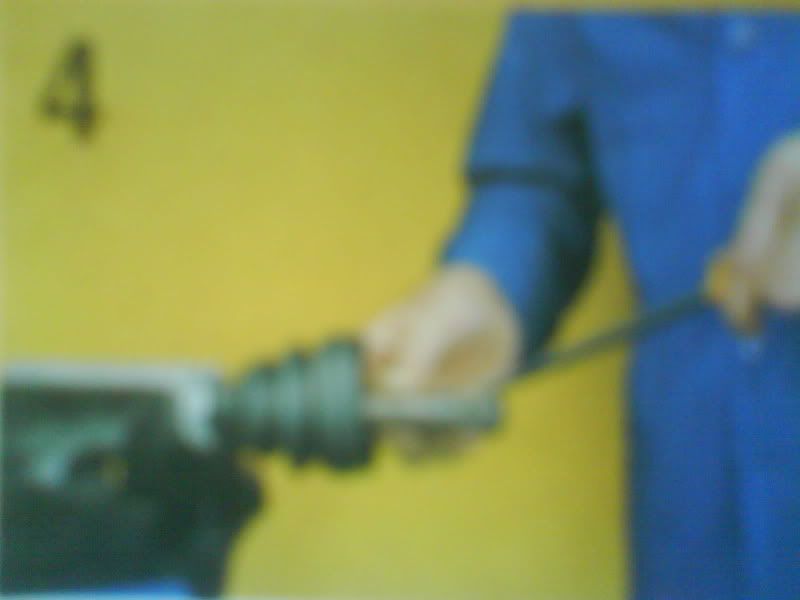
4) Remove the retainer ring, if any, on the drive shaft. Take the boot off the drive shaft. Clean the drive shaft along the grooved part and check that the teeth are intact.
Gearbox Side
1) Grip the drive shaft securely in a vise. Remove the small clamp. Remove the boot with its cap by sliding it off the drive shaft.
2) Remove any protective cap taking care not to damage it because it will have to be used again for assembly.
3) Position the joint over the jaws of the vise so that the drive shaft is in a vertical position facing downward. Open the circlip using the special pliers.
4) Slide the drive shaft out of the joint by striking the front face of the shaft, with its cap and the Belleville washer, if any. Clean the drive shaft along the grooved part part and check that the teeth are intact.